0%
散列表
1 前言
散列表(hash table)的出现是为了提高存储数据的访问速度,当数据采用数组或者链表进行存储时,要查找一个元素必须进行遍历(当然采用其他技术如时无需遍历),当数据量大时耗时巨大;而散列表根据元素的
key可快速计算出元素所在位置,无需进行遍历,进而大大提高了数据的访问速度。
散列表的元素以键值(key-value)的形式存储。一般会有一块空间用于存储散列表的数据元素,基于元素的key根据一定的规则计算出该元素应该存放的位置并进行存储;因为关键字为key的元素所在的位置可以通过计算快速计算得到,因此可以实现快速访问。
2 直接寻址表
假设数据元素的关键字key的值取自全域*U={0, 1, 2, ..., m-1},在直接寻址表(direct-address table)中一般会有一个大小为m的数组,以保证任意元素在直接寻址表中都会有一个位置(或成为槽slot)。在直接寻址表中,数组的下标即为元素的key,因此可根据key快速定位数组中的元素,且对所有的数据元素查找时间恒为O(1)*。
直接寻址表原理简单,实现也不复杂,但当key的全域*U很大但实际上需要存储的数据元素不多时,会造成空间的浪费:比如全域U的取值范围为0 ~ 9999,但数据元素的个数只有100个,根据直接寻址表的套路,其会申请一个大小为10000的数组,在这种情况下,数组的9900个元素空间就浪费了。因而直接寻址表比较适合全域U*范围比较小的情况。
***Note:***直接寻址表并不是散列表的一种,即直接寻址表和散列表是并列关系而非从属关系(有待考证)。
3 散列表
3.1 描述
由于直接寻址表存在以下几个问题:1)当key的全域*U的取值范围0 ~ m很大时,要存储一张大小为m的直接寻址表T可能不切实际;2)待存储的元素个数k可能不多,而key的全域U*的取值范围0 ~ m可能很大,这种情况下采用直接寻址表的方式存储性价比低,因为会浪费大量的存储空间。
相对于直接寻址表,散列表:1)多了一个散列函数(hash function)h(x),散列函数以元素的key为输入,输出元素存放位置;2)直接寻址表把具有关键字k的元素存放在槽k中,而散列表把它存放在h(k)中,即散列表通过散列函数h(x)把元素映射到散列表*T[0 1, 2 ..., n-1]的各个槽(slot)中,因为散列表的映射位置是根据映射函数h(x)计算的,因而散列表的大小n可比全域U的大小m小得多,而直接寻址表的大小必须和全域U*的大小一样大。
散列表的大小n比*U*的大小m要小,把m个数存入n个槽中(n<=m),那必然存在2个或多个元素映射到同一个槽中,这就产生了冲突(collision),因此散列表需要有额外的方式处理冲突,主要有2种:链接法(chaining)和开放寻址法(open addressing)。
3.2 处理冲突
3.2.1 链接法
3.2.1.1 描述
链接法中散列表存储的是一个指向某个链表的指针,当产生冲突时,直接把数据元素追加到链表的末尾。
3.2.1.2 性能分析
看不懂《算法导论》里写的意思,TBC.
3.2.1.2.1 查找
3.2.2 开放寻址法
3.2.2.1 描述
3.2.2.2 性能分析
3.3 散列函数
排序算法
介绍常见排序算法:插入排序、快速排序等的原理,时间复杂度/空间复杂度分析以及代码实现。

others
有东西被加密了, 请输入密码查看.
Primus
有东西被加密了, 请输入密码查看.
SlimFast
有东西被加密了, 请输入密码查看.
Hexo+theme-next+github page搭建blog
本文主要介绍win10下利用Hexo+theme-next+github page搭建个人博客。其中,theme-next是一款简洁而又功能强大的Hexo主题。
1 环境配置
1.1 安装Hexo
安装Hexo前需要安装Node.js和Git。安装好后,在cmd命令行下敲入命令npm install -g hexo-cli即可完成安装。这里有详细的官网安装教程。
1.2 下载/配置主题theme-next
这里有详细的官方配置教程。
要应用主题,需在博客配置文件(即根目录下的_config.yml)里修改配置:
1 | # Extensions |
1.3 将个人博客与github仓库关联
(1)在自己的github账户上创建一个github仓库,命名为username.github.io。
(2)在博客配置文件(即根目录下的_config.yml)里修改配置:
1 | # Deployment |
2 博客搭建&美化
2.1 创建菜单栏
打开cmd窗口,执行以下命令创建文件夹(根据需求选择创建哪些文件夹):
1 | hexo new page home |
检查主题配置文件(即根目录下的_config.next.yml),如果子菜单被注释掉了(如archives/schedule),则取消注释(注:如果想调整子菜单顺序直接在_config.next.yml配置文件里调整即可)。
1 | # Usage: `Key: /link/ || icon` |
2.2 添加头像&博客Logo
将要添加的头像图片和Logo放在指定的文件夹中,此例中放在/node_modules/hexo-theme-next/source/images/目录下。
2.2.1 设置头像
(1)在_config.next.yml下填入头像的url,但这样头像是正方形的且没有动态效果:
1 | # Sidebar Avatar |
(2)设置圆形头像且与鼠标接触头像能够旋转
找到sidebar-author.styl配置文件,将.site-author-image替换为以下内容:
1 | .site-author-image { |
2.2.2 设置博客Logo
在_config.next.yml文件夹下替换掉Logo图片(可在这里将图片转成16×16/32×32大小)的路径即可,如下所示:
1 | # --------------------------------------------------------------- |
2.3 子菜单设置
2.3.1 首页
(1)首页可以自定义(即可以在/home/目录下创建index.md文件,在里面自定义要显示的内容)。默认情况(/home/目录下没有index.md)下点击首页会显示所有博客(默认全文显示)。
(2)首页显示博客摘要
方法1:
直接在文章中需要截断的地方加入:
<!--more-->
那么在首页显示时就会显示<!--more-->前面的内容。
方法2:
在文章中的front-matter中添加description字段,自定义摘要,例子如下:
1 | title: BGP与邻居建立连接-基于RFC4271 |
2.3.2 分类
(1)将categories文件夹下的index.md文件的meta信息中的type设置为categories类型,例子如下:
1 | --- |
(2)将要写的博客归类到某一类,比如将BGP与邻居建立连接-基于RFC4271归类到BGP这一类,即在meta信息中填写categories: BGP,那么该文章就会自动被归类为BGP这一类。
1 | --- |
当点击分类时,页面显示如下: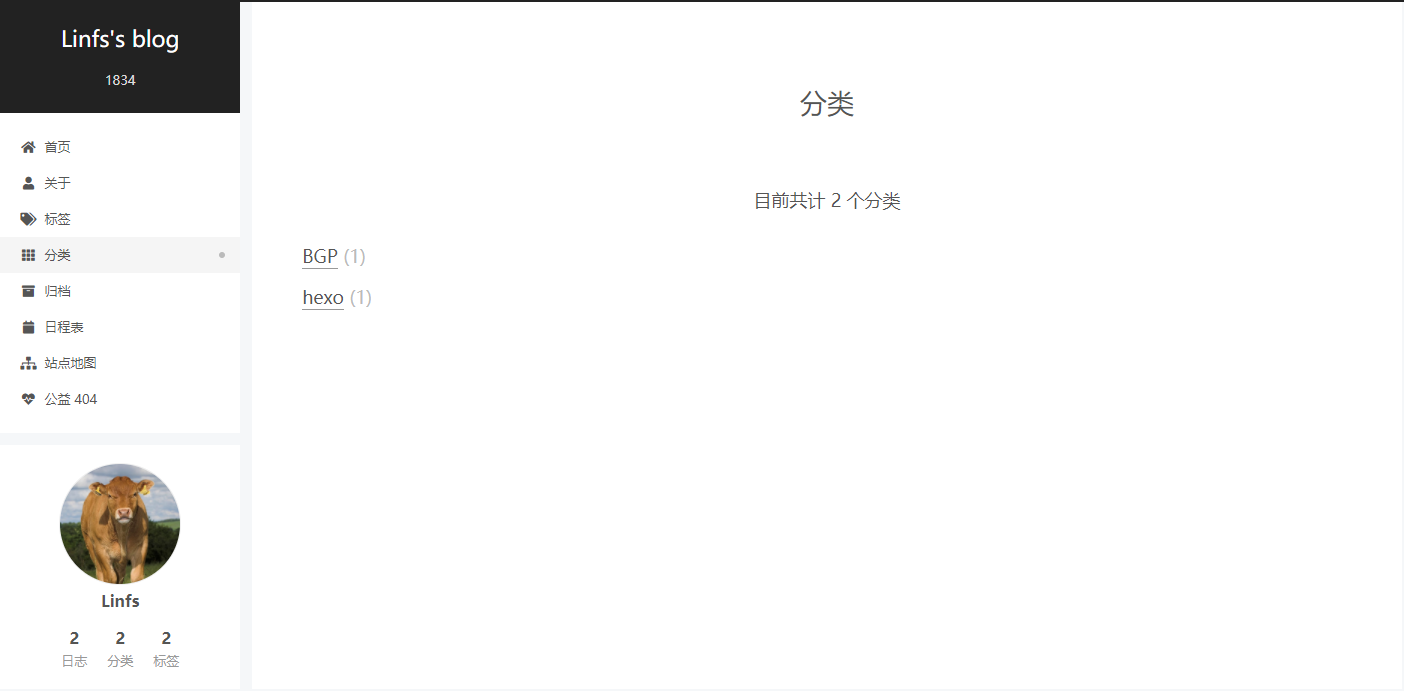
2.3.3 标签
设置类似于分类。
2.3.4 添加博客搜索功能
(1)安装插件hexo-generator-searchdb
npm install hexo-generator-searchdb --save
(2)修改主题配置文件,将local_search改为enable
1 | # Local Search |
(3)完成后在菜单栏处会多一个搜索。
2.4 访问量统计
2.4.1 网站总访问量统计
thmem-next主题集成了不蒜子统计,在配置文件(_config_next.yml)里enable一下即可,不蒜子也可以统计单个博文访问量,不过据说不太好用,下面用Leancloud统计单个博客访问量:
1 | # Show Views / Visitors of the website / page with busuanzi. |
2.4.2 单个博客访问量统计
theme-next也已集成了Leancloud访问量统计功能,只需在_config.next.yml配置文件里enable一下即可:
1 | # Show number of visitors of each article. |
上述配置中需要app_id和app_key,可以到Leancloud上注册账号并注册应用获取。
2.4.3 文章加密访问
(1)安装插件npm install hexo-blog-encrypt
(2)在hexo根目录下的配置文件_config.yml下添加一下内容,更多详情请看这里:
1 | # Security |
(3)在需要加密的文章里添加password字段,例子如下:
1 | title: Blog encrypt test |
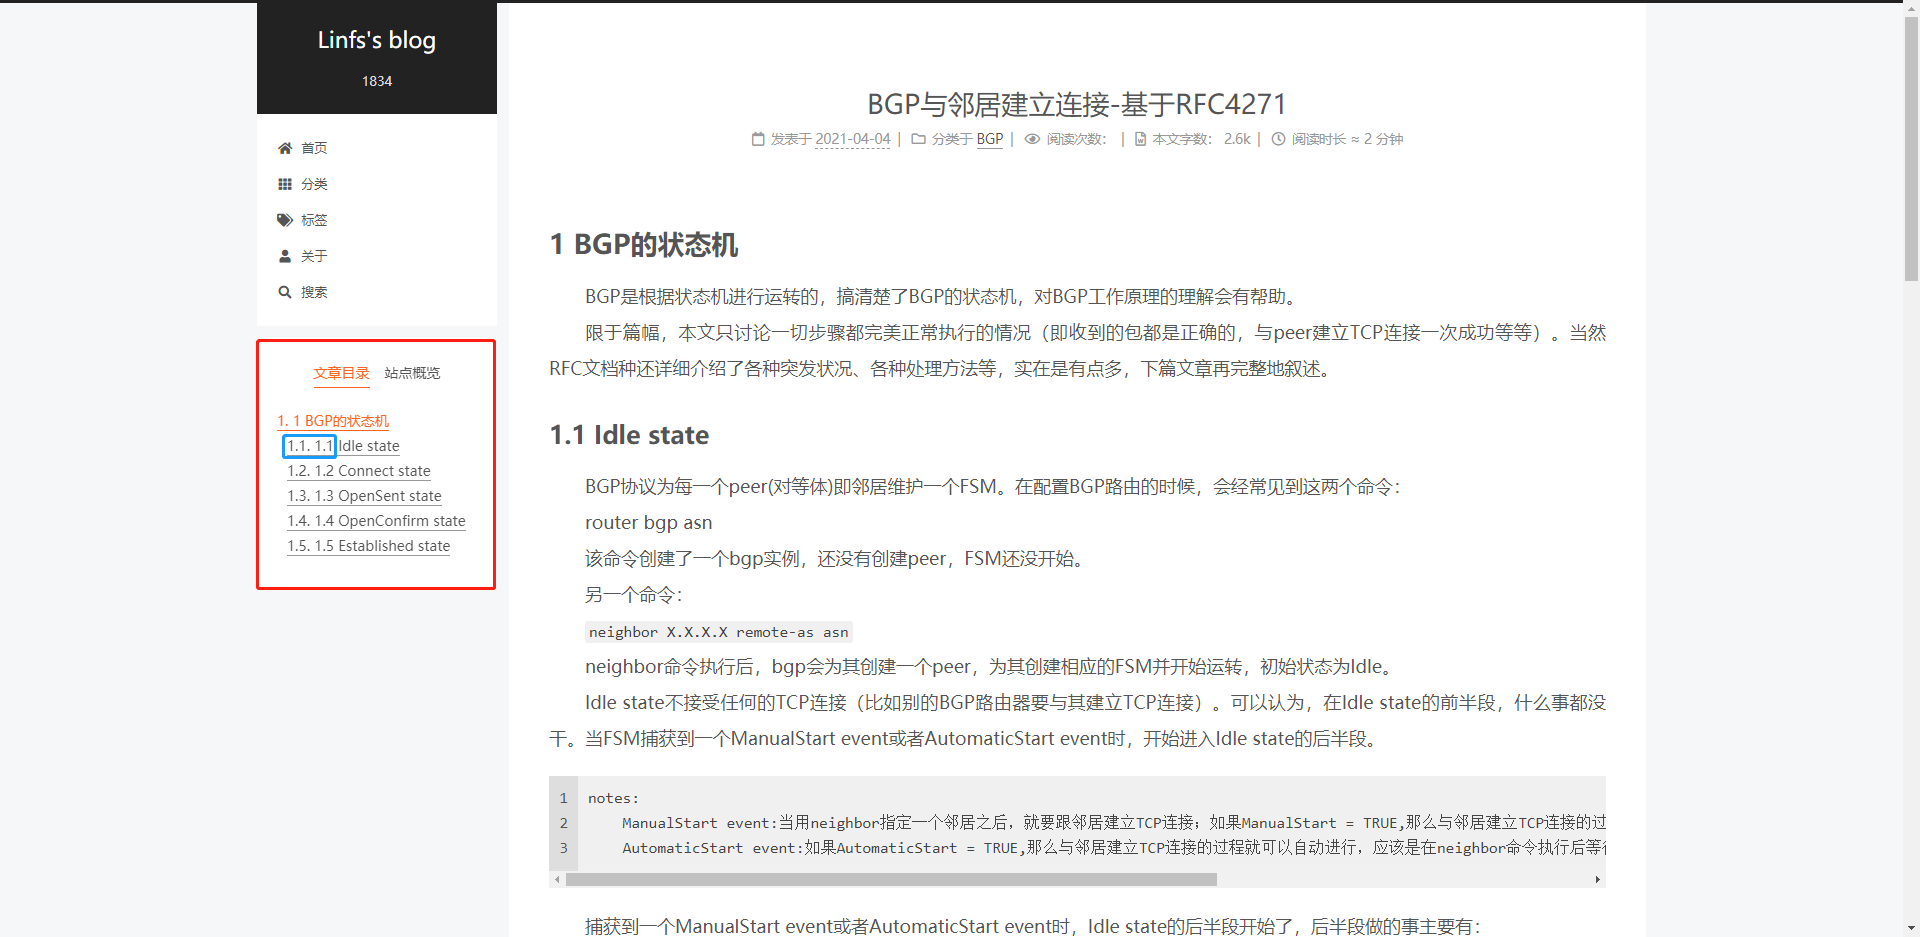
2.4.4 取消theme-next主题目录自动编号
在theme-next主题中,在左侧栏文章目录中会为标题自动编号,如果在文章中也想显示目录的序号,那么在文章目录中的标题编号就会重复,如下图所示:
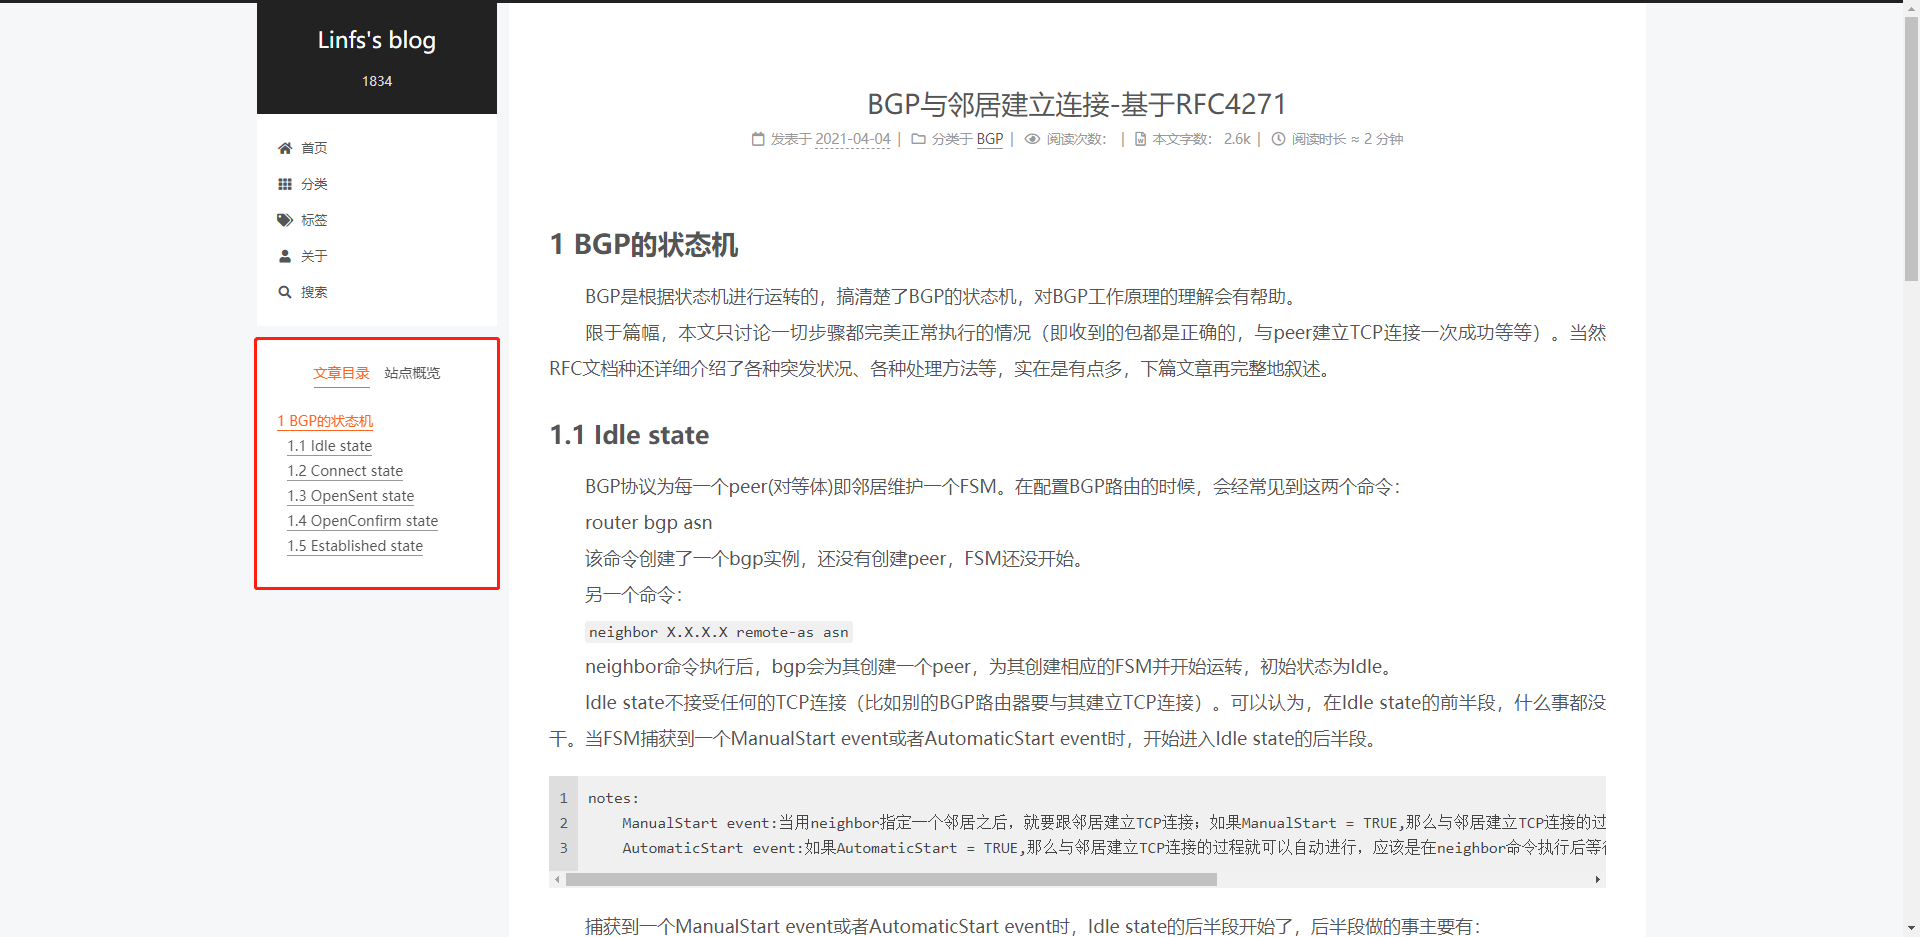
如果希望在文章中显示标题编号,同时想让文章目录也好看一点,那就取消theme-next的目录自动编号,即修改主题配置文件_config.next.yml的number属性为false:
1 | # Table of Contents in the Sidebar |
效果如下:
2.4.5 图片点击放大功能
如果在文章中插入图片,由于某些原因图片可能看不清,此时就需要点击放大预览功能,在theme-next中已经内置了fancybox,在_config.next.yml中把fancybox置为true即可:
1 | # FancyBox is a tool that offers a nice and elegant way to add zooming functionality for images. |
3 本地&github page部署
3.1 本地部署
(1)hexo g可生成静态文件(生成到/public目录下);
(2)hexo clean清理(即删除/public目录);
(3)hexo s可在本地启动,浏览器输入localhost:4000可访问博客。
3.2 github page部署
直接执行hexo d即可部署到github上。
4 写作
支持Markdown。